acconeer-python-exploration
说明: 雅高勘探工具
(Acconeer Exploration Tool)
(Acconeer Exploration Tool)
文件列表:
.readthedocs.yaml (158, 2023-08-11)
CHANGELOG.md (15557, 2023-08-11)
Jenkinsfile (13663, 2023-08-11)
LICENSE.md (1881, 2023-08-11)
MANIFEST.in (217, 2023-08-11)
UNRELEASED_CHANGELOG.md (86, 2023-08-11)
docker (0, 2023-08-11)
docker\Dockerfile (1865, 2023-08-11)
docker\requirements-dev.txt (82, 2023-08-11)
docs (0, 2023-08-11)
docs\_graphs (0, 2023-08-11)
docs\_graphs\a121_presence_detection.dot (3459, 2023-08-11)
docs\_graphs\presence_detect_human_only.dot (2865, 2023-08-11)
docs\_graphs\presence_detection_sparse.dot (2008, 2023-08-11)
docs\_graphs\speed_sparse.dot (911, 2023-08-11)
docs\_static (0, 2023-08-11)
docs\_static\acconeer_evk.png (563824, 2023-08-11)
docs\_static\css (0, 2023-08-11)
docs\_static\css\custom.css (636, 2023-08-11)
docs\_static\favicon.png (10347, 2023-08-11)
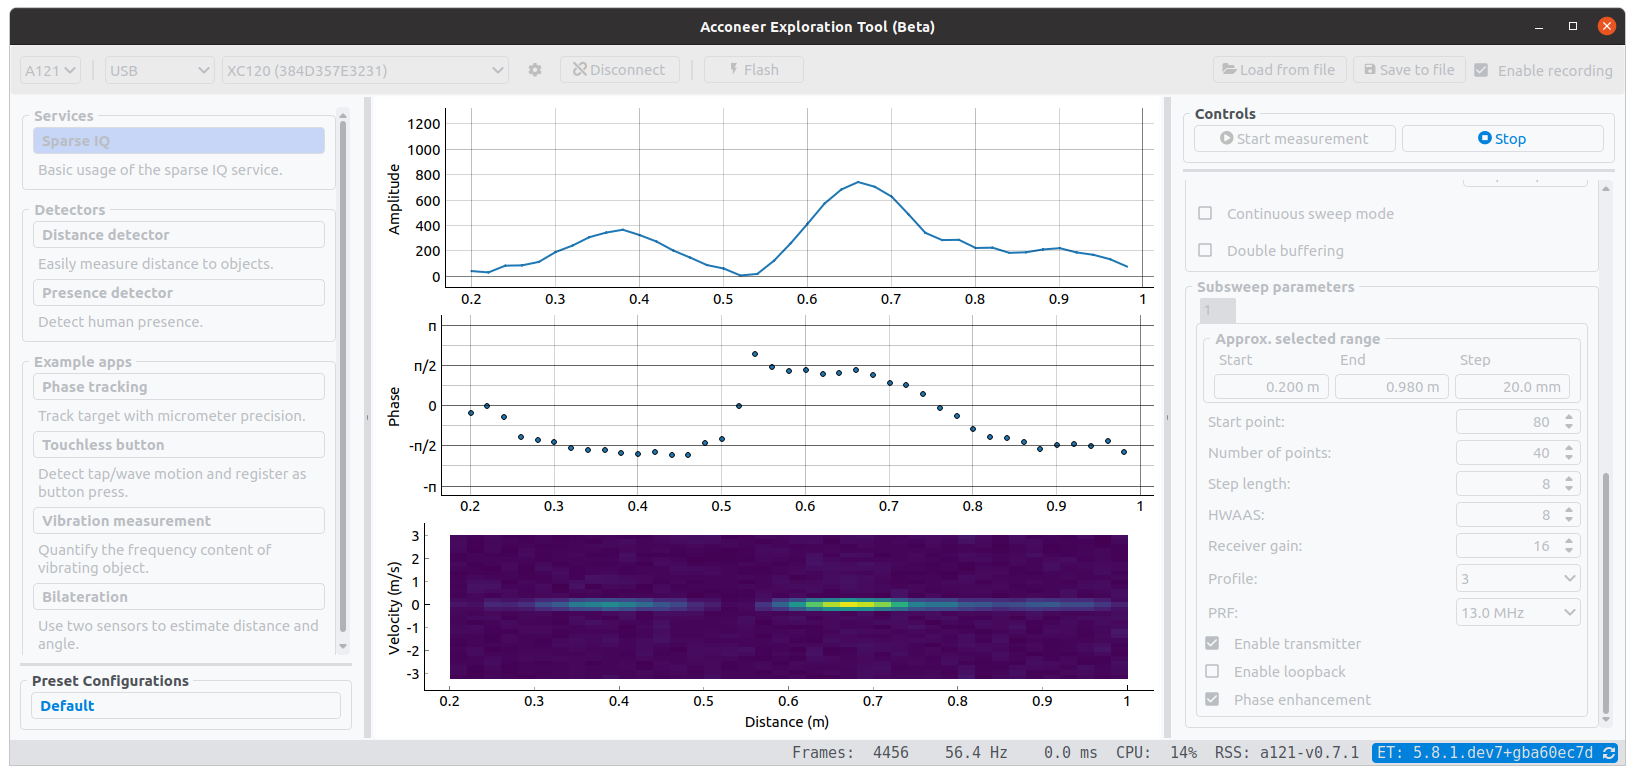
docs\_static\gui.png (183250, 2023-08-11)
docs\_static\gui (0, 2023-08-11)
docs\_static\gui\app_in_action.png (214784, 2023-08-11)
docs\_static\gui\bg_scan.png (96795, 2023-08-11)
docs\_static\gui\bg_settings.png (7427, 2023-08-11)
docs\_static\gui\c_python.png (126613, 2023-08-11)
docs\_static\gui\empty_scan.png (336753, 2023-08-11)
docs\_static\gui\final_product.mp4 (721909, 2023-08-11)
docs\_static\gui\flash_tool_dialog_xc120.png (33318, 2023-08-11)
docs\_static\gui\flash_tool_dialog_xm125.png (33714, 2023-08-11)
docs\_static\gui\my_new_algorithm_module_select_service.png (8488, 2023-08-11)
... ...
CHANGELOG.md (15557, 2023-08-11)
Jenkinsfile (13663, 2023-08-11)
LICENSE.md (1881, 2023-08-11)
MANIFEST.in (217, 2023-08-11)
UNRELEASED_CHANGELOG.md (86, 2023-08-11)
docker (0, 2023-08-11)
docker\Dockerfile (1865, 2023-08-11)
docker\requirements-dev.txt (82, 2023-08-11)
docs (0, 2023-08-11)
docs\_graphs (0, 2023-08-11)
docs\_graphs\a121_presence_detection.dot (3459, 2023-08-11)
docs\_graphs\presence_detect_human_only.dot (2865, 2023-08-11)
docs\_graphs\presence_detection_sparse.dot (2008, 2023-08-11)
docs\_graphs\speed_sparse.dot (911, 2023-08-11)
docs\_static (0, 2023-08-11)
docs\_static\acconeer_evk.png (563824, 2023-08-11)
docs\_static\css (0, 2023-08-11)
docs\_static\css\custom.css (636, 2023-08-11)
docs\_static\favicon.png (10347, 2023-08-11)
docs\_static\gui.png (183250, 2023-08-11)
docs\_static\gui (0, 2023-08-11)
docs\_static\gui\app_in_action.png (214784, 2023-08-11)
docs\_static\gui\bg_scan.png (96795, 2023-08-11)
docs\_static\gui\bg_settings.png (7427, 2023-08-11)
docs\_static\gui\c_python.png (126613, 2023-08-11)
docs\_static\gui\empty_scan.png (336753, 2023-08-11)
docs\_static\gui\final_product.mp4 (721909, 2023-08-11)
docs\_static\gui\flash_tool_dialog_xc120.png (33318, 2023-08-11)
docs\_static\gui\flash_tool_dialog_xm125.png (33714, 2023-08-11)
docs\_static\gui\my_new_algorithm_module_select_service.png (8488, 2023-08-11)
... ...
# Acconeer Exploration Tool
[](https://pypi.org/project/acconeer-exptool/)
[](https://pypi.org/project/acconeer-exptool/)
[](https://pypistats.org/packages/acconeer-exptool)
[](https://github.com/psf/black)
[](https://docs.acconeer.com/en/latest/?badge=latest)
_**Explore the Next Sense**_ with Acconeer Exploration Tool! Use one of our [evaluation kits](https://www.acconeer.com/products) together with our Python examples and start exploring the world of Acconeer's radar sensor technology. The Python scripts and the Application in this repository will help you to easily stream the radar sensor's data to your local machine to start radar sensor evaluation and/or algorithm development for your application.
To run the Python exploration scripts, you will need an [evaluation kit](https://www.acconeer.com/products) running the included Exploration or Module server, both of which are supplied with the [Acconeer SDK and Module SW](https://developer.acconeer.com/) image.
This release is developed for [Acconeer SDK and Module SW](https://developer.acconeer.com/)
**A111-v2.14.2**
and
**A121-v1.1.0**.
Running this version is strongly recommended, as we continuously fix bugs and add features.
```
XM112+XB112 via SPI over USB:
```
python examples/a111/basic.py -spi
```
Any module via UART over USB, attempting to auto-detect the serial port:
```
python examples/a111/basic.py -u
```
Any module via UART over USB, using a specific serial port:
```
python examples/a111/basic.py -u
```
> *Depending on your environment, you might have to replace `python` with `python3` or `py`.*
Choosing which sensor(s) to be used can be done by adding the argument `--sensor [id 2] ...`. The default is the sensor on port 1. This is not applicable for the modules.
Scripts can be terminated by pressing Ctrl-C in the terminal.
## Disclaimer
Here you find the [disclaimer](https://docs.acconeer.com/en/latest/disclaimer.html).
## FAQ and common issues
See the [FAQ](https://docs.acconeer.com/en/latest/exploration_tool/faq.html) on the Acconeer documentation pages.
近期下载者:
相关文件:
收藏者: